Pan-seared oysters offer a delightful contrast of textures and flavors. The searing process creates a beautifully caramelized exterior while preserving the tender, briny interior. The result is a dish that’s both rich and refreshing, making it an ideal appetizer or a sophisticated main course. This guide will take you through every step, from selecting the freshest oysters to plating your masterpiece.
Before we get started, let’s address a common misconception: pan-searing oysters is not as daunting as it may seem. With the right techniques and a little practice, you can easily master this dish. We’ll break down each element, ensuring you feel confident and prepared to create restaurant-quality oysters at home.
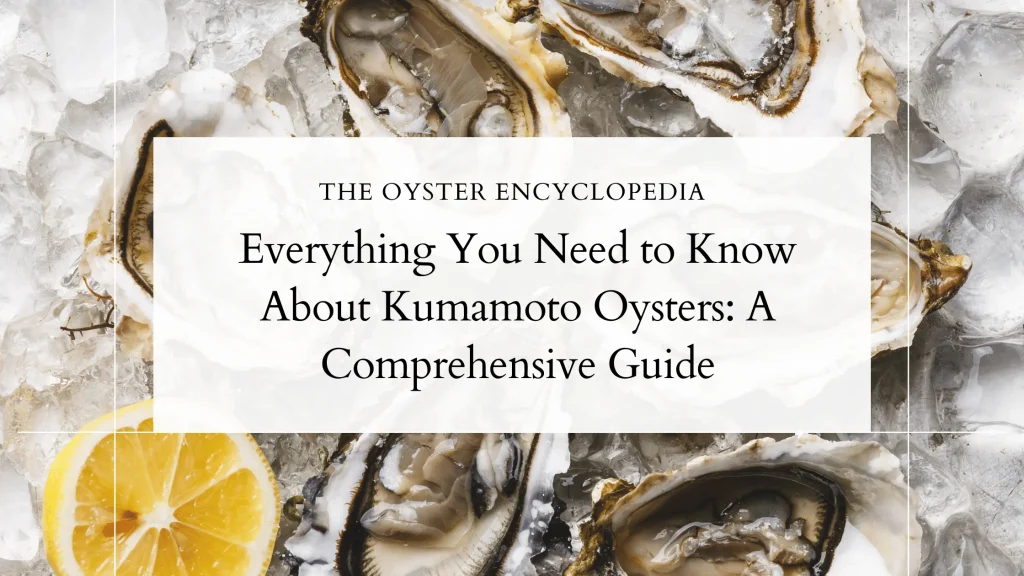
When choosing your oysters, consider the variety. Different oyster species offer distinct flavor profiles. East Coast oysters, such as Bluepoints and Wellfleets, tend to be briny and crisp, while West Coast oysters, like Kumamotos and Olympias, often have a sweeter, more delicate flavor. Experiment with different varieties to discover your personal favorites.
Pay attention to the ‘sell-by’ or ‘harvest date’. Oysters are best consumed within a week of harvest. Also, check for any foul odors. A fresh oyster should smell of the sea, not fishy or sour.
Once you’ve selected your oysters, you’ll need to shuck them. Shucking oysters can seem intimidating, but with the right tools and a little practice, it becomes second nature. You’ll need an oyster knife, a sturdy glove (to protect your non-dominant hand), and a clean work surface.
-
Hold the oyster firmly in your gloved hand, with the cupped side down. This provides a stable base.
-
Locate the hinge where the two shells meet. This is usually the thinnest part of the oyster.
-
Insert the tip of the oyster knife into the hinge, applying gentle pressure and wiggling the knife until you feel it give way.
-
Twist the knife to pry the shells apart. Be careful not to break the shell or spill the liquor (the natural seawater inside the oyster).
-
Slide the knife along the top shell to sever the abductor muscle (the muscle that holds the oyster to the shell).
-
Lift the top shell and discard it. You can also use the knife to detach the oyster from the bottom shell, ensuring it’s completely free.
-
Inspect the oyster for any shell fragments. If present, gently remove them.
-
Place the shucked oyster on a bed of ice or a serving plate, ready for searing.
Now that your oysters are shucked and ready, let’s move on to the searing process. This is where the magic happens, transforming the raw oyster into a culinary delight. The key to successful searing is achieving a beautiful crust without overcooking the delicate interior.
-
Shucked oysters* (about 6-12 per serving)
-
High-heat cooking oil* (such as avocado oil, grapeseed oil, or clarified butter)
-
Salt and freshly ground black pepper*
-
Optional: Butter, herbs (such as thyme or parsley), shallots, garlic, lemon wedges, or other desired seasonings.
Choose a heavy-bottomed pan, such as a cast iron skillet, for the best results. The even heat distribution of a cast iron pan will ensure a consistent sear. Heat the pan over medium-high heat until it’s very hot. The pan is ready when a drop of water flicked onto the surface sizzles and evaporates immediately.
Add a generous amount of oil to the hot pan. The oil should shimmer, indicating it’s ready for searing. If using butter, add it to the pan after the oil has heated. Be careful, as butter can burn quickly.
Gently place the shucked oysters in the hot pan, ensuring they’re not overcrowded. Work in batches if necessary. If the oysters are sitting in their liquor, carefully drain some of it off before placing them in the pan. This helps prevent splattering.
Season the oysters with salt and pepper. You can also add other seasonings at this stage, such as minced shallots or garlic. Be mindful not to overcrowd the pan, which can lower the temperature and prevent proper searing.
Sear the oysters for about 1-2 minutes per side, or until they develop a golden-brown crust. The cooking time will depend on the size of the oysters and the heat of your pan. Keep a close eye on them, as they cook quickly.
Use a thin spatula to gently flip the oysters. Avoid piercing the oysters, as this can release their juices. If you’re adding butter or herbs, add them during the last minute of cooking to infuse the oysters with flavor.
Once the oysters are seared, remove them from the pan immediately to prevent overcooking. Serve them immediately, while they’re hot and juicy.
The perfect pan-seared oyster should have a beautifully caramelized exterior, a tender and succulent interior, and a burst of briny flavor. The sear should provide a satisfying contrast to the oyster’s delicate texture.
-
Classic: Serve the seared oysters with a squeeze of fresh lemon juice and a sprinkle of chopped parsley.
-
Garlic and Herb: Sauté minced garlic and fresh herbs (such as thyme or rosemary) in butter and drizzle over the seared oysters.
-
Spicy: Add a pinch of red pepper flakes or a dash of hot sauce to the oysters during the searing process.
-
Bacon: Cook bacon until crispy, remove it from the pan, and use the rendered bacon fat to sear the oysters. Crumble the cooked bacon over the finished dish.
-
Asian-Inspired: Combine soy sauce, ginger, and a touch of sesame oil for a flavorful glaze.
-
Arrange the oysters on a bed of crushed ice or a decorative platter.
-
Garnish with fresh herbs, such as parsley, chives, or dill.
-
Add a squeeze of lemon juice or a dollop of flavorful sauce.
-
Consider using small, decorative plates or oyster shells for individual servings.
-
Pair with a crisp white wine or a chilled beer for the ultimate culinary experience.
Mastering the art of pan-seared oysters is a rewarding culinary journey. With the right techniques and a little practice, you can create a dish that’s both elegant and delicious. Remember to focus on freshness, proper shucking, and the searing process. Don’t be afraid to experiment with different flavor combinations and presentation styles to create your own signature oyster dish. Enjoy the process, savor the flavors, and impress your guests with your newfound skills!
-
Overcrowding the pan: This lowers the temperature and prevents proper searing. Work in batches if necessary.
-
Using the wrong oil: Avoid oils with low smoke points, as they can burn and impart a bitter taste.
-
Overcooking the oysters: The interior should remain tender and juicy. Watch them closely and remove them from the heat as soon as they’re seared.
-
Not seasoning properly: Seasoning is crucial for enhancing the flavor of the oysters.
-
Forgetting to drain excess liquor: This can cause splattering and prevent a good sear.
Pan-seared oysters can be a delightful addition to any meal, whether it’s an intimate dinner or a grand gathering. They are perfect as an appetizer, a light lunch, or even as part of a more elaborate meal. They pair beautifully with other seafood dishes, salads, and crusty bread.
-
Crusty bread: Perfect for soaking up the delicious juices.
-
A simple salad: A light and refreshing salad with a vinaigrette dressing complements the richness of the oysters.
-
A flavorful sauce: Create a sauce to drizzle over the oysters, such as a mignonette sauce (vinegar, shallots, and pepper), a garlic butter sauce, or a spicy aioli.
-
A chilled beverage: Pair your oysters with a crisp white wine, champagne, or a refreshing beer.
The world of oysters is vast and varied, and there’s always something new to discover. Continue exploring different oyster varieties, cooking techniques, and flavor combinations to expand your culinary horizons. Don’t hesitate to experiment and create your own signature oyster dish!
Proper food safety is essential when handling oysters. Always purchase oysters from a reputable source, and store them properly. Keep oysters refrigerated until ready to use. Discard any oysters that are gaping open or have an off-putting odor. Avoid eating raw oysters if you have a compromised immune system or are pregnant.
Pan-seared oysters are a culinary delight that’s sure to impress. With the right preparation and techniques, you can create a dish that’s both elegant and delicious. So, gather your ingredients, fire up your pan, and embark on a culinary adventure that will transform your appreciation for these remarkable bivalves. Bon appétit!
-
Use a meat thermometer: If you’re unsure about doneness, insert a meat thermometer into the thickest part of the oyster. The internal temperature should reach about 145°F (63°C).
-
Add a touch of acidity: A squeeze of lemon juice, a splash of white wine vinegar, or a drizzle of balsamic glaze can brighten the flavors.
-
Consider a quick marinade: Marinate the oysters in a flavorful mixture (such as olive oil, garlic, and herbs) for a short time before searing.
-
Don’t be afraid to experiment: The best part of cooking is the opportunity to explore new flavors and techniques. Have fun and be creative!
-
Clean your pan thoroughly between batches: Any remnants from the previous batch could burn or affect the flavor of the next. Use a paper towel to wipe out the pan between batches.
By following these guidelines and tips, you’re well on your way to becoming a pan-seared oyster aficionado. Enjoy the process, and most importantly, enjoy the delicious results!