The hallmark of exceptional tempura lies in its delicate, almost lacy coating that shatters with every bite, revealing the succulent ingredient within. Achieving this seemingly simple feat, however, requires attention to detail, precision, and an understanding of a few fundamental principles. Many home cooks struggle with soggy, heavy, or greasy tempura, but fear not – we will demystify the process.
Our journey begins with the star of the show: the shrimp. Selecting the freshest possible shrimp is paramount for flavor and texture. Look for shrimp that are firm, translucent, and have a mild, oceanic scent. Avoid any with black spots or a strong ammonia smell, as these are indicators of spoilage. Medium to large-sized shrimp (around 21-25 count per pound) are ideal for tempura, offering a good balance of bite and cook time.
Proper preparation of the shrimp is the first critical step to ensure a straight and appealing tempura. Begin by peeling the shrimp, leaving the tail segment intact for both aesthetic appeal and a convenient handle. Next, devein the shrimp by making a shallow incision along its back and removing the dark digestive tract. This not only improves hygiene but also prevents bitterness.
To prevent the shrimp from curling up during frying, a common pitfall, you must perform a series of shallow incisions on the inner curve of the shrimp’s belly. Make 3-4 small, shallow cuts, careful not to cut all the way through. After making the cuts, gently press down on the shrimp until you hear a slight pop, which indicates the muscle fibers have relaxed. This crucial step ensures the shrimp remains straight and elegant after frying.
Once prepared, thoroughly pat the shrimp dry with paper towels. Any excess moisture will react violently with the hot oil and can lead to a less crispy coating. Place the dried shrimp on a plate and refrigerate them while you prepare the batter and oil; keeping them cold is an important detail we will revisit.
The secret to a light and crispy tempura batter lies in two main factors: coldness and minimal mixing. These principles work together to inhibit gluten development, which is the enemy of a light batter. Gluten, when overdeveloped, makes the batter chewy and heavy, resulting in a dense coating rather than an airy, delicate one.
For the flour, opt for a low-gluten variety such as cake flour, or even better, specialized tempura flour. All-purpose flour can work, but cake flour’s lower protein content naturally leads to a lighter result. Some recipes even suggest adding a small amount of cornstarch or potato starch to further reduce gluten formation and enhance crispiness.
The liquid component of your batter must be ice-cold. This is non-negotiable. Using ice water, or even sparkling water (club soda) straight from the refrigerator, is essential. The cold temperature slows down gluten development when mixed with flour and creates a greater temperature differential when the batter hits the hot oil, leading to a more explosive expansion and crispier texture. Some chefs even add a few ice cubes directly into the batter bowl.
While some tempura batters use only flour and water, a single egg yolk or a whole egg can be incorporated for added richness and a slightly more golden hue. If using an egg, ensure it is also very cold. Whisk the egg lightly with the ice water before adding it to the flour.
Now, for the batter mixing technique. This is where many go wrong. In a large bowl, combine the flour and the ice-cold liquid (water and egg, if using). Mix them very gently and only until just combined. Lumps are not only acceptable; they are desirable. An overmixed batter will develop gluten, making your tempura heavy and chewy. Think of it as merely hydrating the flour, not creating a smooth paste.
The ideal batter consistency should be thin enough to lightly coat the shrimp but not so thin that it drips off entirely. It should resemble a thin pancake batter or a light cream. If it feels too thick, add a tiny bit more ice water; if too thin, a pinch more flour. Remember to do this gently and minimally.
To maintain the batter’s crucial cold temperature throughout the frying process, place the bowl of prepared batter over a larger bowl filled with ice and a little water. This ice bath will keep the batter perfectly chilled, ensuring consistent crispiness from the first piece of tempura to the last.
The choice and temperature of your frying oil are equally critical. Opt for a neutral-flavored oil with a high smoke point, such as canola oil, grapeseed oil, sunflower oil, or a blend of vegetable oils. Avoid olive oil or butter, as their low smoke points will lead to burning and off-flavors. You’ll need enough oil to deep-fry, so ensure your pot is at least half-filled, allowing the shrimp to be fully submerged.
Maintaining the correct oil temperature is perhaps the most challenging yet vital aspect of tempura frying. An oil thermometer is an indispensable tool here. The ideal temperature range for shrimp tempura is between 170°C to 180°C (340°F to 355°F).
If the oil is too cold, the tempura will absorb too much oil, becoming greasy and soggy. If it’s too hot, the batter will brown too quickly on the outside while the inside remains undercooked, or worse, burn before the shrimp is cooked through. Constant monitoring and adjustment of your stove’s heat are necessary.
Before you begin frying, set up your workstation. You’ll need:
- The cold, prepared shrimp
- The ice-cold batter in its ice bath
- A small bowl of plain dry flour for dredging
- Your pot of hot oil with a thermometer
- A spider or slotted spoon for frying and removing tempura
- A wire rack placed over a baking sheet lined with paper towels for draining the fried tempura
Take a prepared shrimp by its tail. First, lightly dredge it in the plain dry flour. This thin layer of flour acts as a primer, helping the wet batter adhere more effectively to the shrimp and creating an even coating. Shake off any excess flour.
Next, dip the flour-dredged shrimp into the ice-cold batter. Allow any excess batter to drip off for a moment. The goal is a thin, even coating; too much batter will result in a heavy, doughy tempura. Some chefs even flick off excess batter with their fingers for a lacy effect.
Carefully lower the battered shrimp into the hot oil, away from you to avoid splashes. Fry in small batches, typically 3-4 pieces at a time, depending on the size of your pot. Overcrowding the pot will drastically lower the oil temperature, leading to greasy tempura.
As the tempura fries, you’ll notice small, lacy bits of batter floating in the oil. These are called ‘tenkasu’ or ‘tempura scraps.’ Some chefs strategically drizzle a little extra batter into the oil around the frying shrimp to create more of these crispy bits, which adhere to the tempura, enhancing its unique texture.
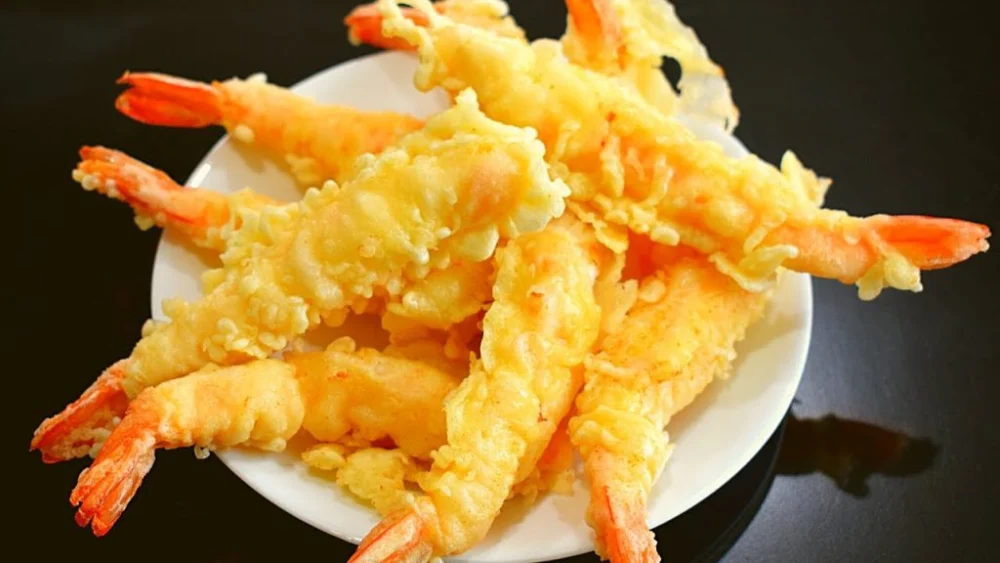
Fry the shrimp for approximately 2-3 minutes, or until the batter is a beautiful pale golden color and delightfully crispy. The shrimp inside will be perfectly cooked through, tender and juicy. Use your spider or slotted spoon to gently turn the tempura once or twice to ensure even cooking and browning.
Once cooked, carefully remove the shrimp tempura from the oil and immediately transfer it to the wire rack to drain. The wire rack allows air to circulate around the tempura, preventing steam from accumulating and making it soggy. Avoid placing them directly on paper towels initially, as this can trap steam.
Serve your freshly fried shrimp tempura immediately. Tempura is best enjoyed piping hot, right out of the fryer, when its crispiness is at its peak. A traditional dipping sauce, known as ‘tentsuyu,’ typically made from dashi, mirin, and soy sauce, is the perfect accompaniment. Grated daikon radish and fresh ginger are often served alongside for added flavor and to cut through the richness.
Several common mistakes can derail your tempura efforts. Overmixing the batter is perhaps the most frequent culprit, leading to heavy, chewy results. Remember, lumps are your friends! Warm batter is another major no-no; always keep it ice-cold. Incorrect oil temperature, whether too low or too high, will compromise texture and taste.
Overcrowding the frying pot is a mistake that quickly cools the oil and results in greasy, unevenly cooked tempura. Be patient and fry in small batches. Finally, not thoroughly drying the shrimp before flouring and battering can lead to splattering oil and a less crisp coating.
For an even lighter and crispier batter, consider using chilled sparkling water or club soda instead of plain ice water. The carbonation in these liquids introduces tiny air bubbles into the batter, which expand rapidly upon hitting the hot oil, resulting in an exceptionally airy texture.
Some recipes suggest adding a small amount of sake or mirin (Japanese rice wine) to the batter for a subtle depth of flavor. If you choose to do this, ensure these liquids are also thoroughly chilled before incorporating them into the ice-cold water.
To maintain oil cleanliness throughout the frying process, periodically skim off any floating batter bits (tenkasu) with your spider. These bits can burn and impart an unpleasant flavor to subsequent batches of tempura. A clean oil ensures clean-tasting tempura.
While shrimp tempura is a classic, the same principles and techniques can be applied to a variety of other ingredients. Consider making tempura with thinly sliced vegetables like sweet potato, zucchini, eggplant, bell peppers, or even mushrooms. Seafood like scallops or white fish fillets also make excellent tempura.
Making truly crispy and light shrimp tempura is a culinary endeavor that rewards patience, precision, and an understanding of the underlying science. By meticulously selecting fresh ingredients, preparing them correctly, mastering the art of the cold, minimally mixed batter, and controlling your oil temperature, you can consistently achieve results that rival your favorite Japanese restaurants.
Practice is key to perfecting any culinary skill, and tempura is no exception. Don’t be discouraged if your first attempt isn’t absolutely perfect. Each batch will teach you more about your ingredients, your equipment, and your technique. Embrace the process, savor the journey, and soon you’ll be delighting friends and family with your exquisite homemade shrimp tempura.
With these comprehensive tips and techniques, you are now equipped to embark on your tempura-making adventure. Remember the core principles: cold batter, minimal mixing, correct oil temperature, and proper shrimp preparation. These are the pillars upon which perfect tempura stands.
Enjoy the process of creating this delicate and delicious dish. The satisfaction of biting into your own perfectly crispy, light, and flavorful shrimp tempura, knowing you’ve mastered the art, is truly unparalleled. Happy frying!