The quest for long-lasting crispiness begins long before the oil is heated. It starts at the fishmonger’s counter or the frozen seafood aisle. The quality and condition of the squid are paramount. While fresh squid is often touted as superior, high-quality frozen squid can yield excellent results if handled correctly. When selecting fresh squid, look for clear eyes, a clean ocean scent (never fishy or ammonia-like), and firm flesh. If the squid looks deflated or has a slimy, milky residue, it is past its prime. For the specific goal of crispy calamari, smaller to medium-sized squid are often preferred over the giant steaks, as they tend to be more tender and require less aggressive tenderizing techniques.
Preparation: The Foundation of Texture
Proper cleaning is the first technical hurdle. Cleaning squid involves separating the head from the body, removing the quill (the plastic-like cartilage), and scooping out the innards. However, the most critical step for texture—which is often skipped by amateurs—is removing the skin or membrane. The outer purple or spotted skin of the squid is tough and fibrous. If left on, it tightens rapidly when exposed to heat, causing the calamari ring to shrink violently. This shrinkage creates a gap between the meat and the batter, causing your carefully applied coating to fall off. Peel this membrane off completely until you are left with a pristine, white tube.
Once the squid is cleaned and skinned, slicing it correctly is the next step. Cut the tubes into rings that are approximately half an inch to three-quarters of an inch thick. If the rings are too thin, they will overcook and become rubbery before the batter is crispy. If they are too thick, the batter will burn before the meat is cooked. Consistency is key here; you want every piece in the fryer to cook at the same rate. Do not discard the tentacles; cut them into bite-sized clusters. Many enthusiasts argue the tentacles are the best part due to their increased surface area, which holds more crispy batter.
The Enemy of Crispiness: Moisture
Tenderizing is an optional but recommended step, especially if you are working with larger squid or are unsure of its age. There are several methods to ensure the meat melts in your mouth. A classic method is soaking the rings in milk or buttermilk for 30 minutes to an hour. The lactic acid helps break down fibers gently. Alternatively, a quick marinade with a pinch of baking soda can work wonders, but be careful not to overdo it, or the squid will taste soapy. A simple soak in kiwi or papaya juice for 15 minutes is another enzymatic tenderizer used in professional Asian kitchens.
The Science of the Batter
Now, we arrive at the heart of the matter: the coating. To achieve Cumi Goreng Tepung that is ‘Tahan Lama’ (long-lasting), you cannot rely solely on all-purpose wheat flour. Wheat flour contains gluten, which can lead to a heavy, bread-like crust that absorbs oil and turns soggy as it cools. The secret weapon for lasting crunch is a blend of flours. A mixture of low-protein wheat flour (cake flour), cornstarch, and rice flour is the gold standard.
Cornstarch and Rice Flour are crucial because they do not contain gluten. They fry up incredibly hard and crisp, creating a shell that resists moisture absorption. A recommended ratio is 50% all-purpose flour, 25% cornstarch, and 25% rice flour. This blend gives you the flavor and browning of wheat with the glass-like shatter of the starches. Additionally, adding a teaspoon of baking powder to the dry mix creates tiny air bubbles in the crust when it hits the oil, resulting in a lighter, airier texture rather than a dense shell.
Seasoning should be applied in layers. First, season the raw squid rings directly with salt, white pepper, and garlic powder. Second, season the flour mixture. If the flour is bland, the final dish will be bland, regardless of how fresh the squid is. Add paprika, salt, garlic powder, and perhaps a touch of cayenne or dried oregano to the flour mix. Remember that fried foods require more salt than you think, as some of the seasoning is lost to the oil.
The Coating Technique
There are three main ways to coat calamari: the dry dredge, the wet batter, and the three-step breading (flour-egg-breadcrumb). For the classic ‘Goreng Tepung’ style which is light and craggy, the Egg Wash and Double Dredge method is often best. First, toss the dried squid in a thin layer of plain cornstarch. This base layer acts as glue. Then, dip it into an egg wash (beaten egg with a splash of cold water). Finally, toss it into your seasoned flour blend.
When tossing the squid in the final flour mix, do not just roll it around. Use a technique called ‘pressing.’ Bury the rings in the flour and press down firmly with your palm to adhere the coating. Then, pick up the rings and shake off the excess vigorously. This shaking step is vital; it creates the craggy, uneven surface texture that becomes extra crispy in the fryer. If you leave too much loose flour, it will burn in the oil and dirty your fryer.
For an even crispier, tempura-like texture, use ice-cold water in your wet batter if you are skipping the dry dredge method. Cold batter hitting hot oil causes a more violent reaction, expanding the air bubbles rapidly and creating a lacework structure that is incredibly light. However, for the specific goal of ‘long-lasting’ crispiness, the dry flour coating usually holds up better over time than a wet tempura batter, which softens quickly.
Mastering the Fry
The choice of oil is non-negotiable. You need an oil with a high smoke point and a neutral flavor. Canola, vegetable, peanut, or grapeseed oils are excellent choices. Olive oil has a smoke point that is too low and a flavor that is too strong for this application. Fill a heavy-bottomed pot or a Dutch oven with at least 2-3 inches of oil. Using a deep pot helps prevent dangerous splatters and maintains temperature stability.
Temperature control is the difference between greasy, oily calamari and dry, crispy perfection. The target temperature is 375°F (190°C). You absolutely need a kitchen thermometer. When you add the food, the temperature will drop. If it drops below 350°F (175°C), the batter will act like a sponge and soak up the oil. If the oil is too hot (over 400°F), the outside will burn before the squid is cooked. Maintain the heat diligently.
Do not overcrowd the pan. This is the most common mistake home cooks make. If you throw too many rings in at once, the oil temperature plummets. Cook in small batches, allowing the rings plenty of room to swim. This ensures that the hot oil can circulate around the entire surface of each ring, cooking it evenly and crisping it quickly.
The Double Fry Technique
If you want to know the true industrial secret to fried foods that stay crispy for hours (like fast-food french fries or Korean fried chicken), it is the Double Fry. This technique involves frying the food twice at different temperatures or simply twice to dehydrate the crust. For calamari, fry the first batch for about 2 minutes until the coating is set and pale golden. Remove them and let them drain on a wire rack. The residual heat cooks the squid gently.
Once all batches have been fried once, crank the heat up slightly to 400°F (200°C). Return the calamari to the oil for a second fry, but only for about 1 minute or until deep golden brown. This second shock of high heat drives out the last remaining moisture in the crust without overcooking the meat inside. This is the ‘Kiat Sukses’ (Success Tip) that transforms good calamari into great, long-lasting calamari.
Post-Frying Care
How you treat the calamari immediately after frying is just as important as the frying itself. Never, ever place fried calamari on a pile of paper towels on a plate. The heat from the calamari releases steam, and if the bottom pieces are resting against paper towels, that steam is trapped, turning the crust soggy within seconds. Instead, place the fried rings on a wire cooling rack set over a baking sheet. This allows air to circulate around the entire ring, preventing steam buildup.
Season immediately. As soon as the calamari comes out of the oil (or the second fry), hit it with a final sprinkle of salt. The surface oil is still hot and fluid, which helps the salt adhere to the crust. If you wait until it is dry, the salt will just bounce off.
Troubleshooting Common Issues
Problem: The coating falls off.
Cause: The squid was too wet, or the skin was not removed. Ensure the squid is bone-dry and the membrane is peeled before dredging.
Problem: The squid is rubbery.
Cause: Overcooking. Calamari cooks incredibly fast—usually in under 3 minutes total. If you cook it too long, the proteins tighten up. It can also be a sign of tough, old squid that wasn’t tenderized.
Problem: The calamari is greasy.
Cause: The oil temperature was too low. When oil is hot enough, the outward pressure of the steam prevents oil from entering the food. When the oil is cool, that pressure drops, and oil seeps in.
Serving and Storage
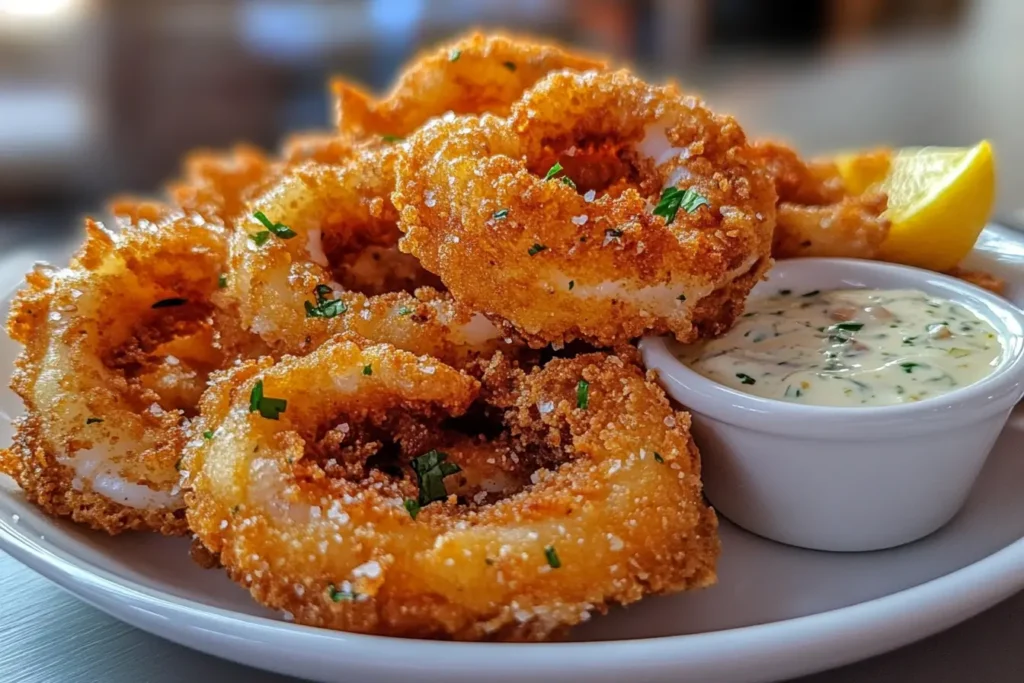
Serve your crispy calamari immediately for the peak experience. However, thanks to the cornstarch/rice flour blend and the double-fry method, these should stay crunchy for a significant amount of time. Accompany them with wedges of lemon—but do not squeeze the lemon over the whole platter! The acid and liquid will destroy the crust you worked so hard to create. Let each diner squeeze lemon on their own portion right before eating.
For dipping sauces, variety adds excitement. A classic marinara is standard, but a garlic aioli, a spicy chili-lime sauce, or a tartar sauce with capers pairs beautifully. In Indonesia, it is often served with bottled chili sauce or a sweet and spicy chili dip.
If you have leftovers (which is rare), reheating them in a microwave is a crime against cuisine. It will turn them into a rubbery, soggy mess. To reheat, place them in an air fryer or a toaster oven at 375°F for 3-5 minutes. This will re-crisp the coating and warm the interior without overcooking the squid too much.
Mastering Cumi Goreng Tepung is a skill that rewards patience and attention to detail. By controlling the moisture, managing the oil temperature, and utilizing the right blend of flours, you can create a dish that rivals any seafood restaurant. The crunch of the batter followed by the tender resistance of the squid is a textural masterpiece that is well worth the effort.
Remember, cooking is an experiment. Depending on the humidity of your kitchen and the specific brand of flour you use, you may need to tweak your ratios slightly. But stick to the core principles—dry squid, high heat, and low-gluten flours—and you will achieve success every time.
So, the next time you see fresh squid at the market, don’t be intimidated. Grab a few pounds, heat up your oil, and prepare to impress your family and friends with the ultimate crispy, golden, and long-lasting fried calamari.